MASM in VisualStudio 2010
First step:
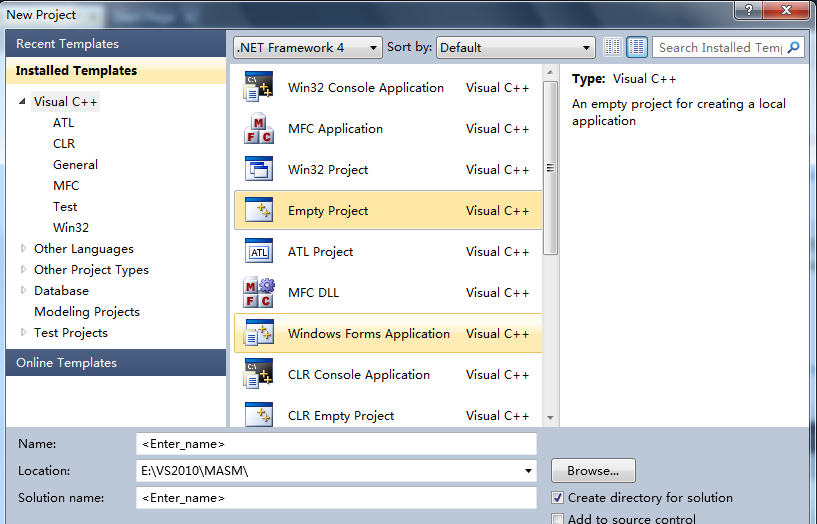
Create an empty project in Visual C++:
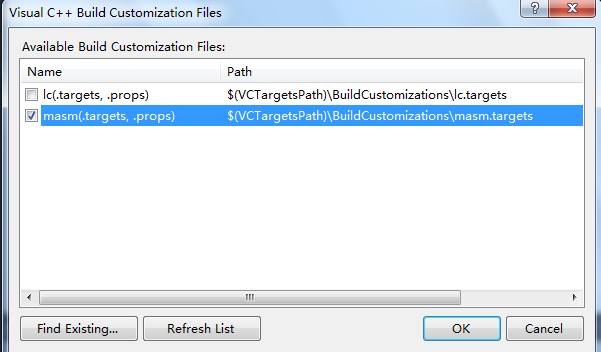
Second, right-click project in solutionexplorer, Build customizations, tick "masm",
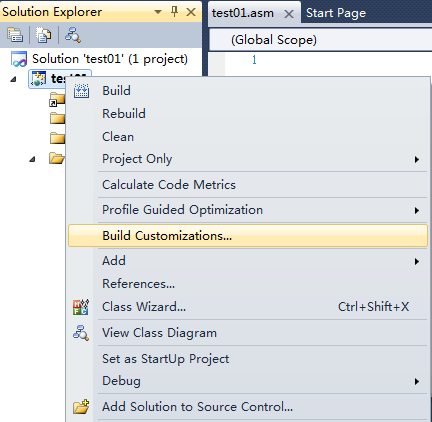
Then tap the right of mouse, select Add

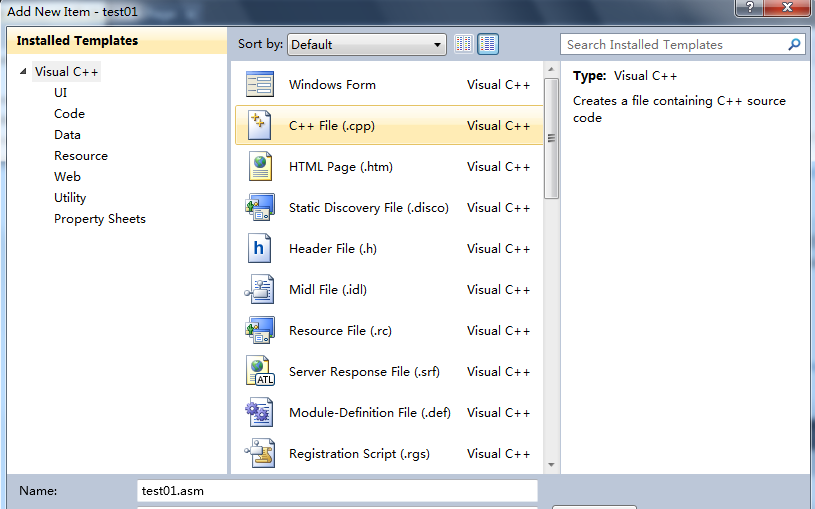
Now, select C++ File(.cpp), enter the sourcefile name with .asm as extend file name.
Tap right of mouse, choose Properties:

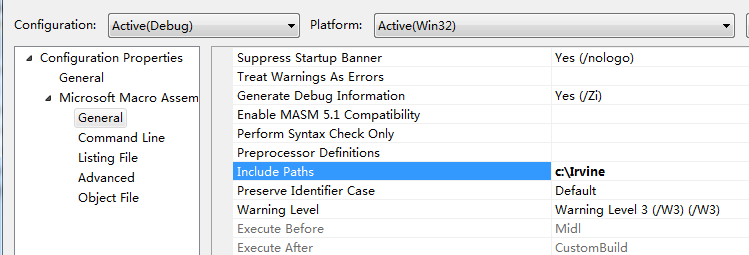
Expand the entry under ConfigurationProperties. Then expand the entry named Microsoft Macro Assembler.
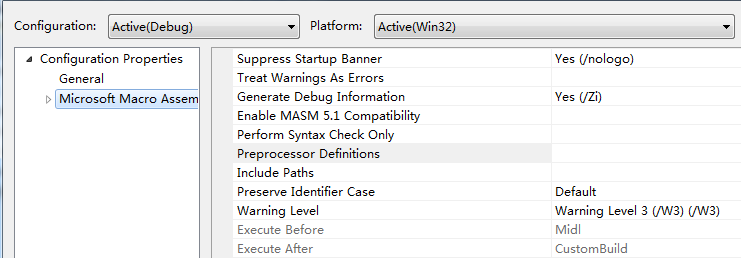
Notice that the Include Paths option hasbeen set to the x:\file directory\include directory.
In this example, include directory isc:\Irvine.
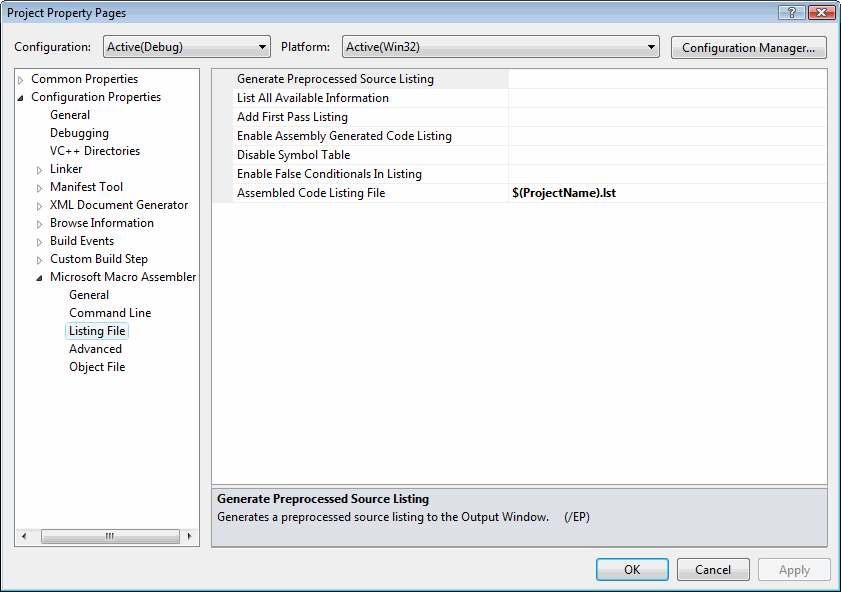
Next, select the Listing File entry, also in theMicrosoft Macro Assembler group. Notice that the Assembled Code Listing Fileentry (shown below) has been assigned a macro name (starting with $) thatidentifies the name of the source input file, with a file extension of .lst.So, if your program were named main.asm, the listing file would be namedmain.lst:
Find the Linker entry under ConfigurationProperties. Select the Input entry, and notice that two filenameshave been added to the Additional Dependencies entry. The user32.libfile is a standard MS-Windows file. The irvine32.lib file is the linklibrary file supplied with this book. There must be at least one spaceseparating the file names:

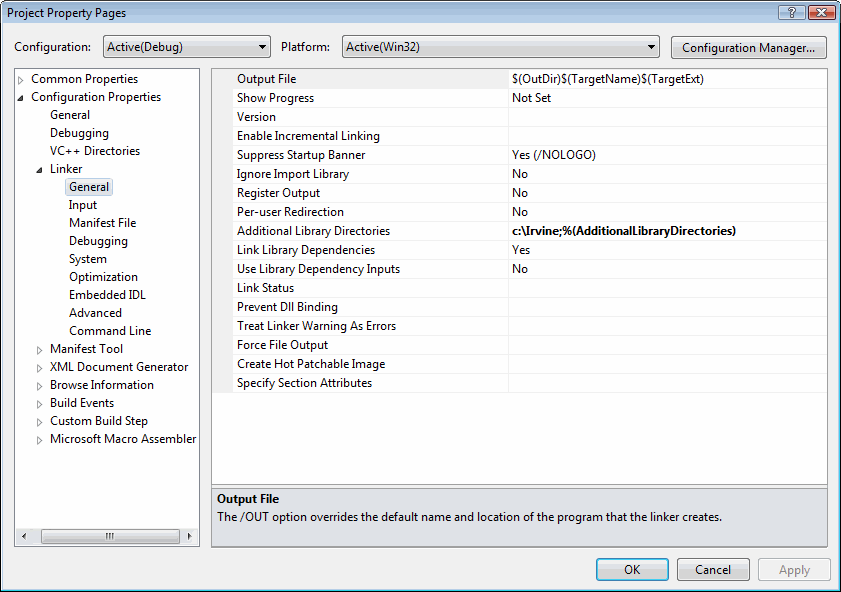
Next, select Linker underConfiguration Properties, and then select General. The AdditionalLibrary Directories option equals c:\Irvine, so the linker can findthe Irvine32.lib library file(you also can copy irvine32.lib to .../VC/LIB direcotry, so this would needn't to be done):
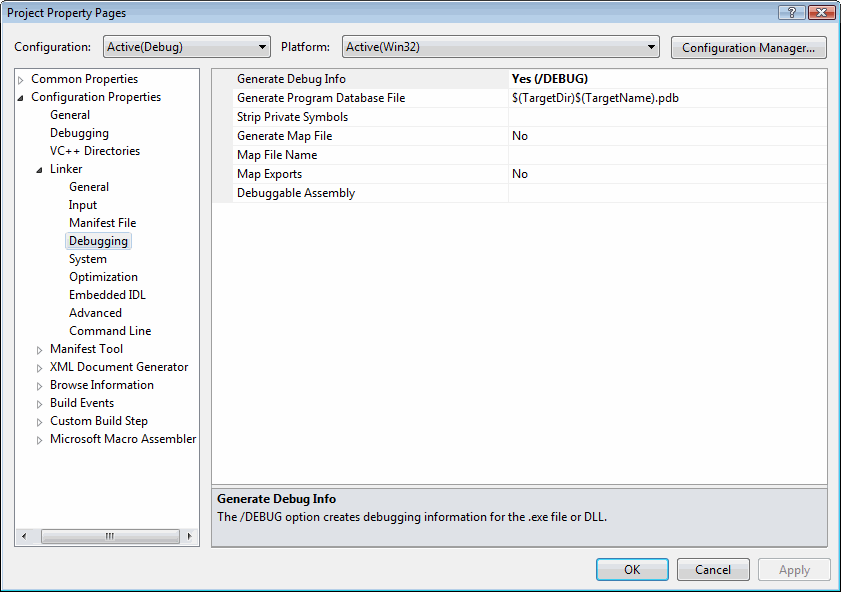
Select Linker under the ConfigurationProperties and select Debugging. Notice that the Generate DebugInfo option is set to Yes:
Select System under the Linkerentry. Notice that the SubSystem option has been set to Console:
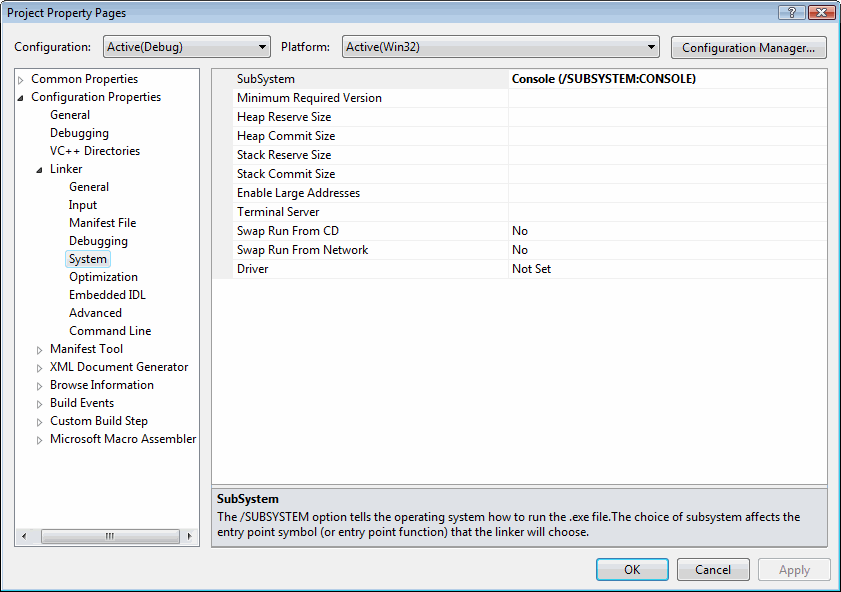
We use the Console settingbecause it is easy for assembly language programs to write output to a textconsole (Command) window. This is the window you see when running cmd.exe fromthe Start > Run menu in Windows.
Click the OK button to close theProject Property Pages window.