今天我给大家演示如何搭建Android NDK
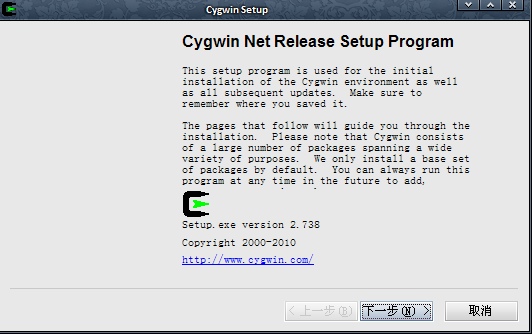
我们到Cygwin的官方网站下载Cygwin的安装程序,地址是: http://www.cygwin.com/setup.exe
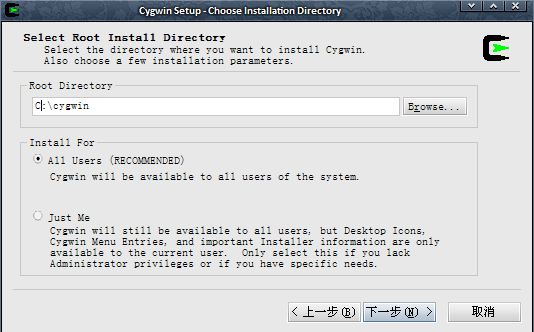
下载完成后,运行运行setup.exe程序,出现安装画面。直接点“下一步”,出现安装模式的对话框,如下图所示:

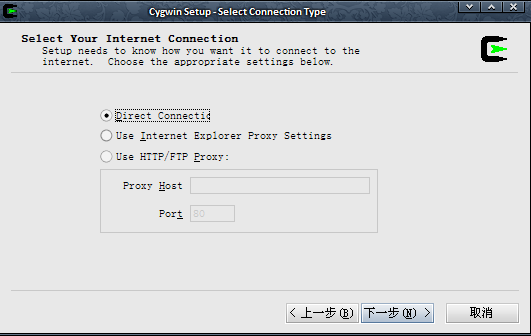
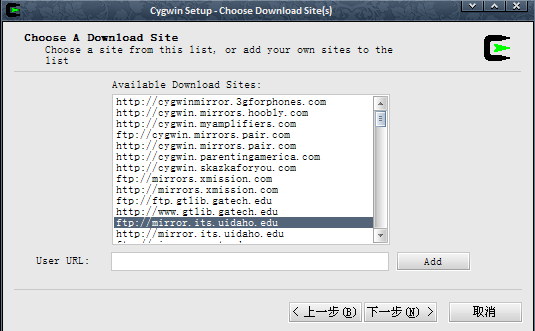
建议选网址是:ftp://mirror.its.uidaho.edu/
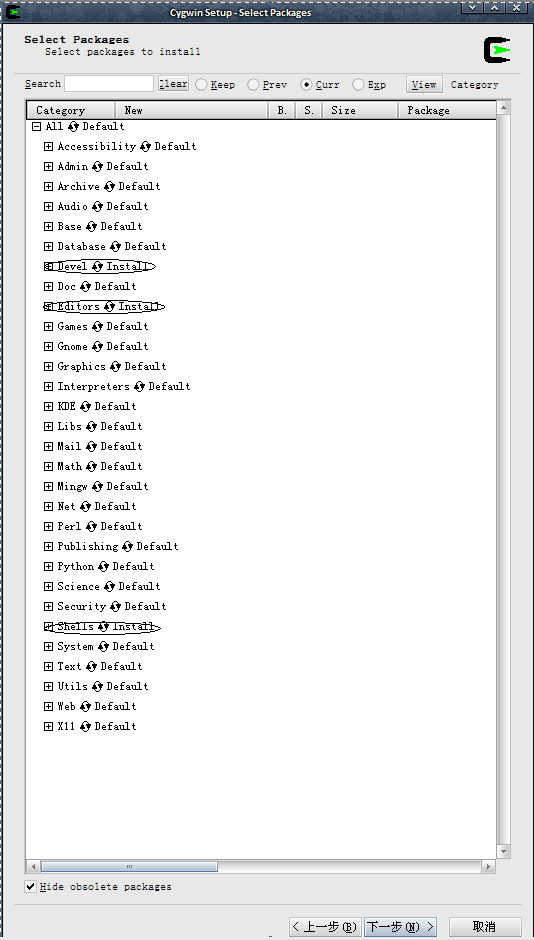
选完以后,我们选择下一步,进入安装过程,安装的时间依据你选择的组件以及网络情况而定。安装完成后,安装程序会提示是否在桌面上创建Cygwin图标等,建议都选上,击完成退出安装程序。
安装完成桌面生成图标

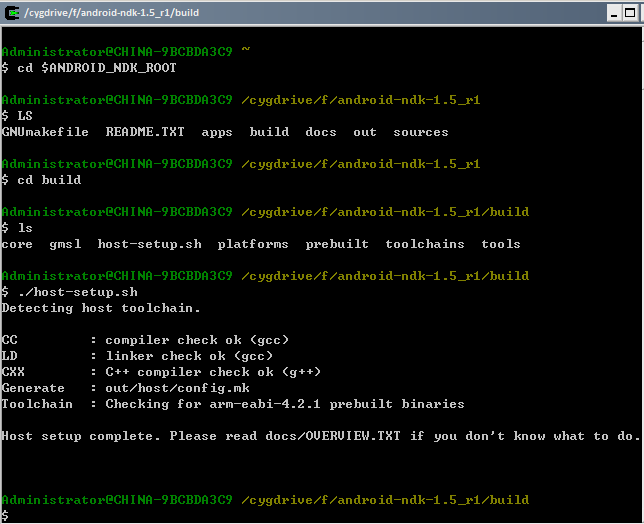
运行Cygwin,我们配置Cygwin,检查gcc,make包是否装上

编译环境需要android-ndk-1.5_r1-windows.zip,解压包,配置包路径

最后加上ndk引用路径

添加完路径,开始具体操作
接下来是如何运行NDK中自带的samples,首先把android-ndk-1.5_r1\build\out下host目录文件复制到\android-ndk-1.5_r1\out目录文件下,然后编译

编译成功
新建Android Project,新建选项中,选择create Project from existing source, 目录选择NDK下的hello-jni目录下的Project文件夹


终于弄完了,好庞大的工程啊,希望大家多多支持
本文出自 “Art_Hero” 博客,请务必保留此出处http://curran.blog.51cto.com/2788306/506837