Using Auto
Maps
Your game world is a huge
place, and when players start exploring their surroundings,
you may want to make things easier on them by providing a miniature version
of your map for their reference. Not just any map mind you—a map that is smart
enough to know where the player has been and the places he still needs to
explore.
You need to display only those
portions of the map that a player has explored.
Sections never visited do not need to be shown—that is, not until discovered by
players. In that way, players can look back to where they’ve been and maybe plot
out their paths to future destinations. This is the magic of auto mapping.
Auto Maps in
Action
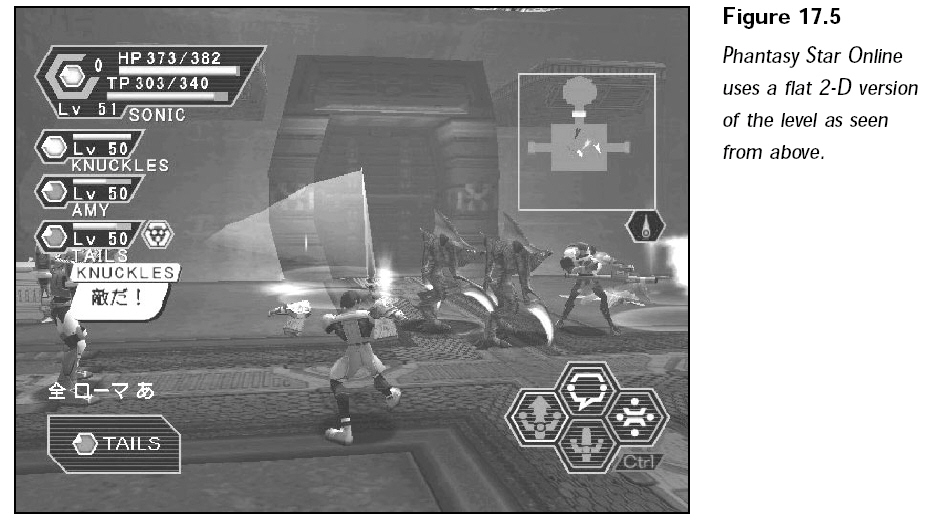
One of my favorite games,
Phantasy Star Online, by Sega Corp., uses auto mapping
in a seamless fashion. Check out Figure 17.5, which shows the auto map at work
in
the upper-right corner of the screen.

In Phantasy Star Online, the
main player and other important characters in the
game are displayed on the auto map as well as small arrows. As the main player
walks around, the map scrolls to show the area around the player. As the player
visits new rooms (sections), the rooms are revealed on the auto map.
This auto-mapping feature are
easy to re-create for your own game project.
Big Map, Small Map
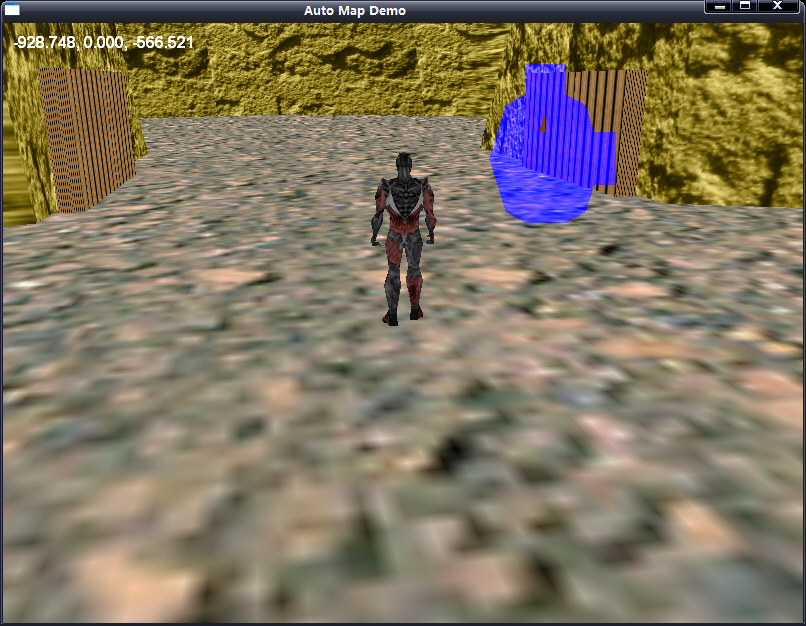
The challenge here is to change your large game level into a small map suitable
for display in your game. Following snap shows a screen shot of the Mapping
example
program. Notice the map in the upper-right corner of the screen. It uses alpha
blending
(refer to Chapter 6 for more on this topic) to show the game action underneath.

The easiest way to make a
smaller version of the in-game level is to go into your 3-D
editor and load up the level of the small map that you want to construct.
Loading and
Displaying Auto Maps
Okay, the small auto map is
created and waiting to be used. What you need to do at
this point is load the .X file and query it for the individual meshes contained
within. Using the Graphics Core’s cMesh object is perfect for loading the mesh.
Now, you construct an array of
vertex buffers—one for each mesh in the auto map.
You fill each vertex buffer with the triangle face data from each mesh in the
cMesh
object. The trick at this point is that although you are copying the vertex data
from
the mesh to the vertex buffer, the Y-coordinate is tossed out so that the
resulting
vertex buffer mesh is flat, and thus the 2-D look of the auto map.
To display the loaded map, you
just position a camera, set up a viewport to render
to on the display, and render each vertex buffer. With auto mapping in place,
you
can skip rendering the vertex buffers that represent sections of the map that
have
not been visited by the character.
Although the concept sounds
simple, get a jump on things by looking at some
working code.